
§ How-To
How to Organize Cordless Tools by Battery Platform
Teach users how to organize a mixed workshop around tool ecosystems like 18V, 20V, 24V, 40V, 60V, and 80V platforms. Focus on workflow, charging areas, and reducing clutter across brands.
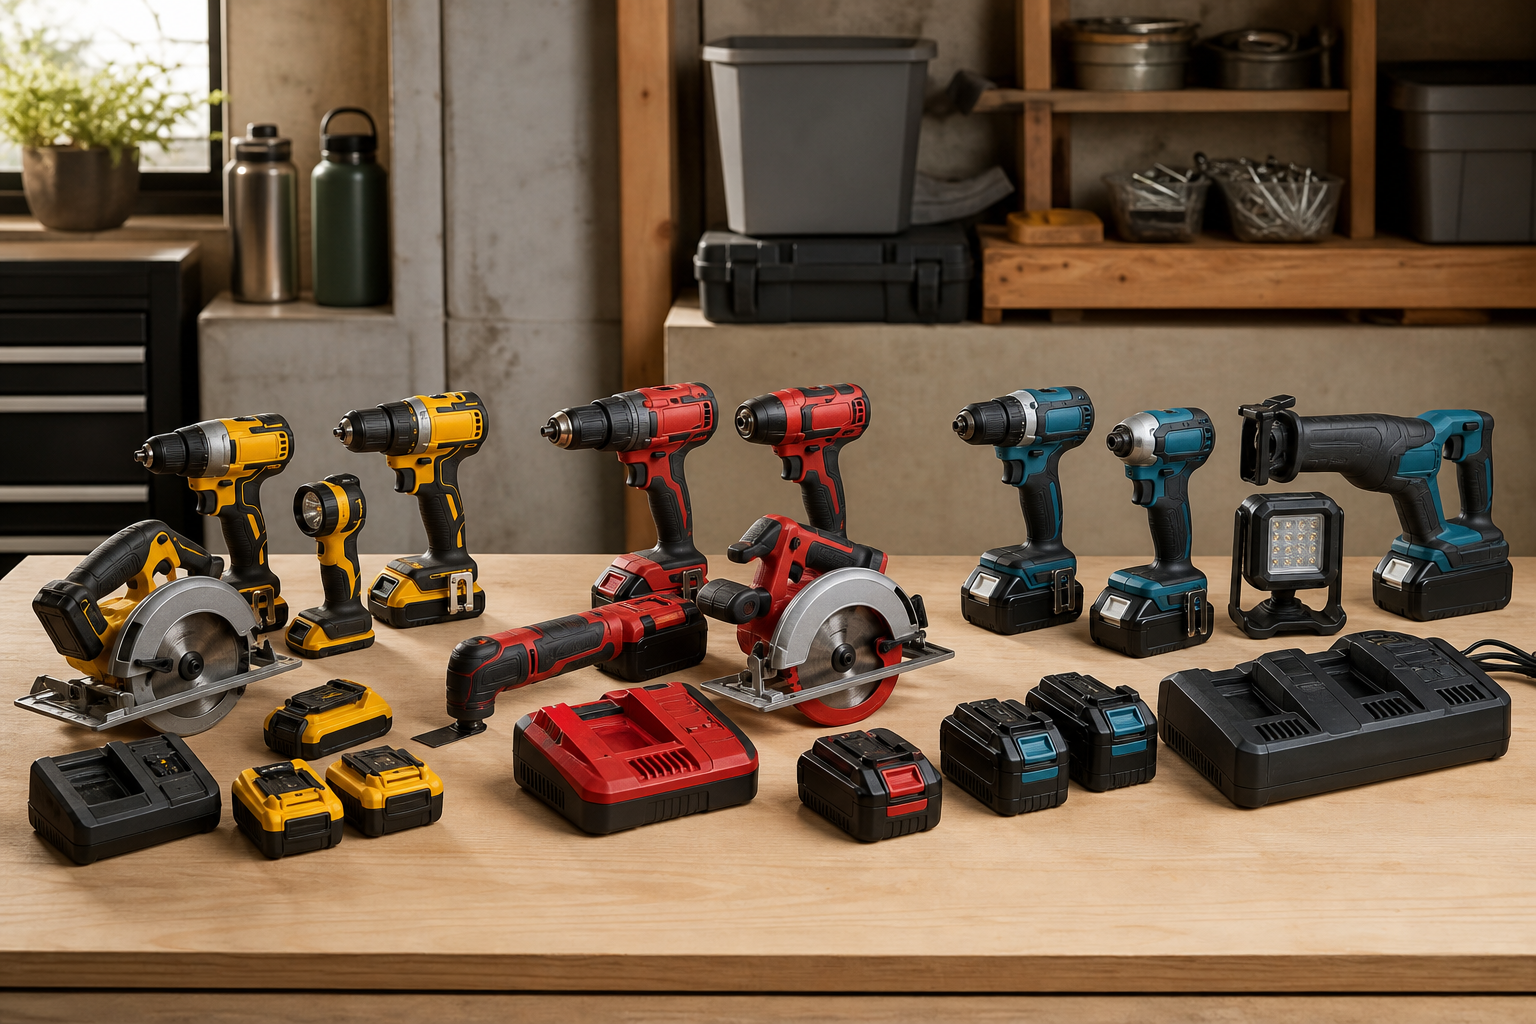
If your workshop has turned into a mix of yellow, red, teal, green, and orange batteries scattered across benches and shelves, you’re not alone. Most DIYers and tradespeople end up with tools from more than one brand and more than one voltage class. The simplest way to get that mess under control is to organize by battery platform first, not by tool type. When drills, blowers, trimmers, saws, chargers, and spare packs are grouped around their actual power ecosystem—18V, 20V, 24V, 40V, 60V, or 80V—you cut down on hunting for chargers, grabbing the wrong battery, and clogging your bench with gear that doesn’t belong together.
Sort the Workshop by Platform, Not Just by Tool
Start by laying everything out: tools, batteries, chargers, adapters, cases, and attachments. Then make physical groups by platform. Keep 18V and 20V tools separate unless they are truly the same brand ecosystem marketed differently. In real workshop use, “20V max” and “18V nominal” are often different labels for similar lithium-ion chemistry, but batteries are usually not cross-compatible across brands. Treat each battery interface as its own lane.
A practical setup looks like this:
- 18V/20V zone: drills, impact drivers, circular saws, lights, compact vacs
- 24V zone: mid-power saws, blowers, work lights, specialty cordless tools
- 40V and up zone: outdoor gear like trimmers, chainsaws, hedge trimmers, blowers
- 60V/80V zone: higher-demand equipment such as large blowers, mowers, and pro-grade saws
Use labeled bins or shelves for each platform. A simple shelf tag like “20V DeWalt,” “18V Makita,” or “40V Outdoor” prevents mix-ups fast. If you share a garage or jobsite with others, add big, visible battery labels on the shelf edge and charger board.
The main point is workflow: when you reach for a tool, the right battery and charger should be within arm’s reach. If a tool lives in one area and its charger lives across the room, your system is already costing you time.
Build a Charging Area That Matches Real Use
Charging stations work best when they’re organized by battery family and by frequency of use. Mount chargers on a wall panel, backboard, or dedicated shelf, but don’t stack them loosely on the bench where cords tangle and vents get blocked.
Set up the charging area in three rows or zones:
-
Daily-use platforms
Put your most-used cordless system at chest height for easy access. For many users, that’s 18V or 20V drill and saw batteries. -
Outdoor equipment platforms
Keep 40V, 60V, and 80V chargers together, especially if they support larger packs used in lawn and garden tools. These chargers are often bulkier and need more ventilation. -
Backup or seasonal platforms
Less-used systems, such as specialty 24V or hedge-trimming batteries, can go on the upper shelf or side rack.
A few workshop rules make a big difference:
- Leave clearance around chargers for cooling
- Label each charger cord and mount position
- Keep charged and discharged batteries separated
- Don’t leave loose packs in direct sun, near heaters, or on damp concrete
- Store larger outdoor batteries where they won’t get knocked off shelves
One simple trick is to use two battery bins per platform: “Ready” and “Charge Me.” That eliminates guesswork. If you grab a pack from the ready bin, it should be good to go. If a battery comes off a tool empty, it goes straight to the charge bin until the charger is free.
Store Tools Around the Jobs They Actually Do
Once platforms are sorted, organize tools inside each platform by task. That’s more useful than arranging everything alphabetically or by size.
For example:
- 18V/20V construction lane: drill, impact, recip saw, light, spare batteries
- 40V garden lane: string trimmer, blower, hedge trimmer, charger, line refill
- 60V/80V heavy outdoor lane: chainsaw, high-output blower, mower batteries, bar oil, PPE
This is where racks, hooks, battery holders, and wall mounts earn their keep. Hanging a cordless trimmer next to its battery shelf and charger saves far more space than leaning it in a corner. The same goes for drills and saws: vertical storage clears the bench and keeps your main work area open.
For mixed-brand shops, color coding helps. Use tape dots, shelf strips, or labels that match each ecosystem. You don’t need anything fancy. The goal is to make it obvious at a glance which batteries belong where.
Also think about tool readiness. Keep the most-used tool in each platform with a battery installed and one spare nearby. Store extra packs together, terminals protected, instead of spread between drawers, cases, and truck boxes. That reduces clutter and extends battery life by preventing accidental drops and dirty contacts.
Reduce Clutter by Cutting Duplicates and Orphans
Most messy cordless setups have the same problem: too many orphaned chargers, dead batteries, and duplicate tools in weak platforms. If you want a cleaner shop, audit what’s earning shelf space.
Ask these questions:
- Do I still own tools that use this battery platform?
- Is this charger working, and do I need more than one?
- Am I keeping a dead battery that should be recycled?
- Do I have three platforms doing the same job?
If you’ve got one old 24V tool and no reason to keep that system alive, it may be smarter to retire it and free up storage. If your main drilling and cutting happens on one 18V or 20V platform, let that platform be the core indoor system. Then reserve higher-voltage systems for outdoor power equipment where they actually offer an advantage in runtime and output.
A tighter system usually means:
- fewer chargers on the wall
- fewer batteries to track
- less confusion on busy days
- faster cleanup after work
Good organization is really about reducing friction. The less time you spend sorting batteries, the more time you spend getting useful work done.
FAQ
Should I store batteries on the charger all the time?
Not unless the manufacturer specifically says it’s fine for that charger system. In most shops, it’s better to charge packs, remove them when ready, and store them in a designated battery area.
How do I organize if I use multiple brands with the same voltage?
Treat each brand as a separate platform unless the batteries are genuinely cross-compatible. Label by both voltage and brand, such as “20V Black+Decker” and “20V DeWalt.”
What’s the best place to keep 40V, 60V, and 80V batteries?
Store them indoors in a dry, stable-temperature area, off the floor, away from impact and moisture. Larger outdoor packs should be kept on sturdy shelves or holders where they can’t slide or fall.
Find the right part on Amazon
Check price, stock and fitment — ships direct from Amazon.
§ Catalog
Shop the catalog


