§ Journal · Jun 2, 2026
Mobile Tool Trailer Setup — Wall Mounts and Organization for Landscaping Crews
How to outfit a work trailer with battery mounts, tool holders, and organized storage that survives the road and keeps a landscaping crew moving fast between jobs.
Published · Last updated:
Mobile Tool Trailer Setup — Wall Mounts and Organization for Landscaping Crews
A landscaping trailer that is not organized costs time at every job site. Crew members dig through loose tools, batteries roll around on the floor, and equipment gets damaged in transit. Multiply that by five or six stops a day, and a disorganized trailer is burning hours every week.
Setting up a work trailer with proper wall mounts, battery storage, and tool organization is not a luxury project. It is a productivity decision. Here is how to do it right, with attention to the specific challenges that trailers present — vibration, mixed battery platforms, limited space, and the constant in-and-out of daily commercial use.
Trailer walls are not garage walls
The first thing to understand is that mounting inside a trailer is different from mounting in a garage or workshop. Trailer walls are typically thin sheet metal or plywood over a metal frame. Standard drywall anchors will not work. Toggle bolts may not work either, depending on wall construction.
For reliable mounting in a trailer:
- Locate the metal frame members. Most enclosed trailers have vertical studs on 16- or 24-inch centers. Use a magnet or stud finder to locate them, and mount directly into the frame with self-tapping metal screws or through-bolts.
- Add backing panels. If the trailer walls are thin aluminum or single-layer plywood, mount a piece of 3/4-inch plywood or steel plate to the frame first, then attach your tool holders and battery racks to the backing. This distributes the load and prevents tearout.
- Use locking fasteners. Standard screws can vibrate loose after a few weeks of road use. Use lock nuts, Loctite on threaded fasteners, or bolts with lock washers. Anything that hangs on a wall mount in a trailer will experience constant vibration and occasional impact from road bumps, loading ramps, and trailer sway.
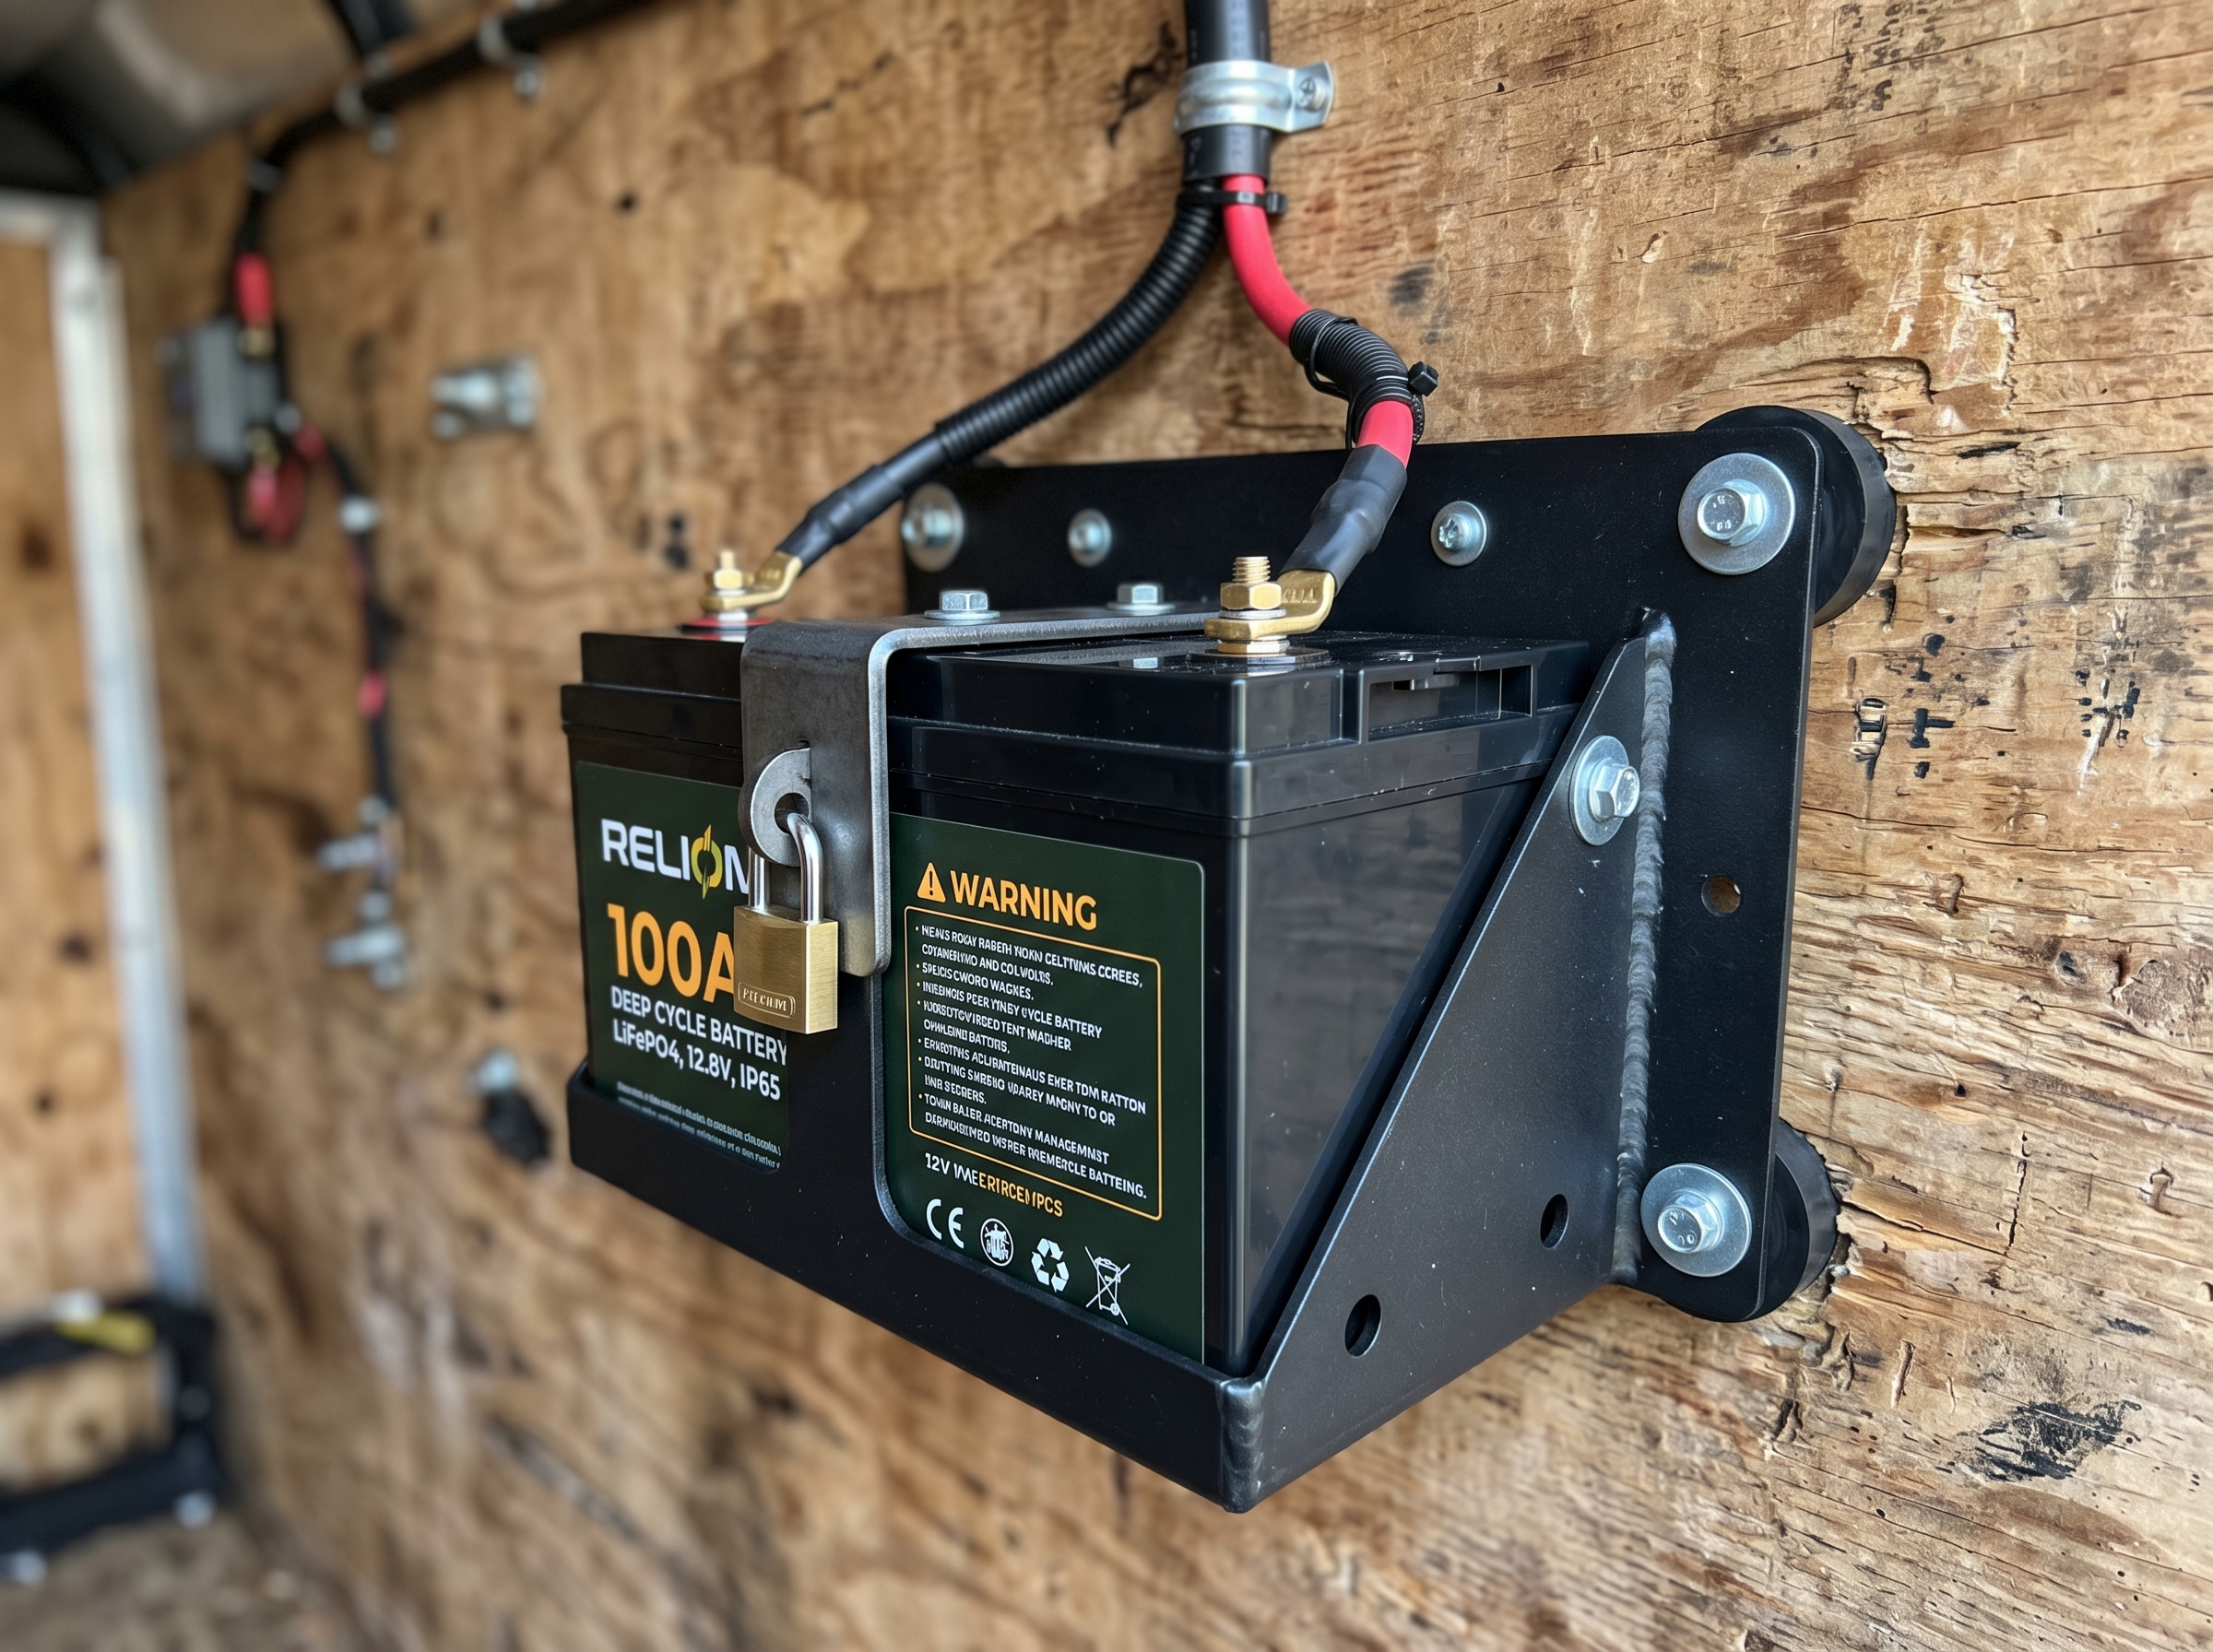
For a detailed guide on mounting battery holders in trailers and trucks, see our walkthrough on mounting battery holders in a garage, trailer, or truck.
Vibration-resistant mounting is not optional
This deserves emphasis. A garage wall mount that works perfectly in a static environment can fail catastrophically in a trailer. Vibration loosens screws, fatigues metal brackets, and can cause batteries to walk off their mounts and fall to the floor. A falling 8Ah battery pack can crack its housing, damage terminals, or injure someone.
To make mounts vibration-resistant:
- Choose battery holders with positive retention — clips, latches, or slide-lock mechanisms that physically prevent the battery from coming off during movement. Friction-fit or gravity-only mounts are not adequate for mobile use.
- Use rubber or foam padding between metal brackets and the trailer wall to dampen vibration transfer. This also reduces noise.
- Inspect mounts weekly. Check for loose fasteners, cracked brackets, and any sign that a mount is shifting or pulling away from the wall. Catching a problem early is much cheaper than replacing a damaged battery or tool.
For heavy tools like string trimmers, blowers, and backpack sprayers, use mounts rated for the tool’s weight plus the weight of a fully loaded battery. A trimmer with a 6Ah or 8Ah pack is significantly heavier than the bare tool, and the mount needs to handle that total load under vibration.
Multi-platform battery storage for mixed crews
Many landscaping operations run tools from more than one battery platform. A crew might use Milwaukee M18 string trimmers, DeWalt 20V MAX blowers, and Ryobi 40V mowers. Or one crew lead prefers Makita while another runs all Ryobi. Either way, the trailer needs to handle multiple battery form factors.
The best approach is to create separate battery zones by platform:
- Milwaukee M18 section — Sized for standard and HIGH OUTPUT packs, with mounts that fit the M18 slide rail
- DeWalt 20V MAX section — Holders designed for the 20V MAX battery profile, including the larger FlexVolt packs if the crew uses 60V tools
- Ryobi ONE+ section — Mounts that fit the 18V ONE+ battery shape and the larger 40V HP packs if applicable
Label each section clearly. When a crew member needs a charged battery in the middle of a job, they should not have to think about which slot fits which pack. Color coding works well — Milwaukee is red, DeWalt is yellow, Ryobi is green. Match the label color to the brand.
If space is tight, prioritize the platform your crew uses for the highest-drain outdoor tools. That is where battery turnover is fastest and where having charged packs ready matters most. For a closer look at how to set up a Milwaukee M18-specific wall system, see our Milwaukee M18 battery and tool mount organizer guide.
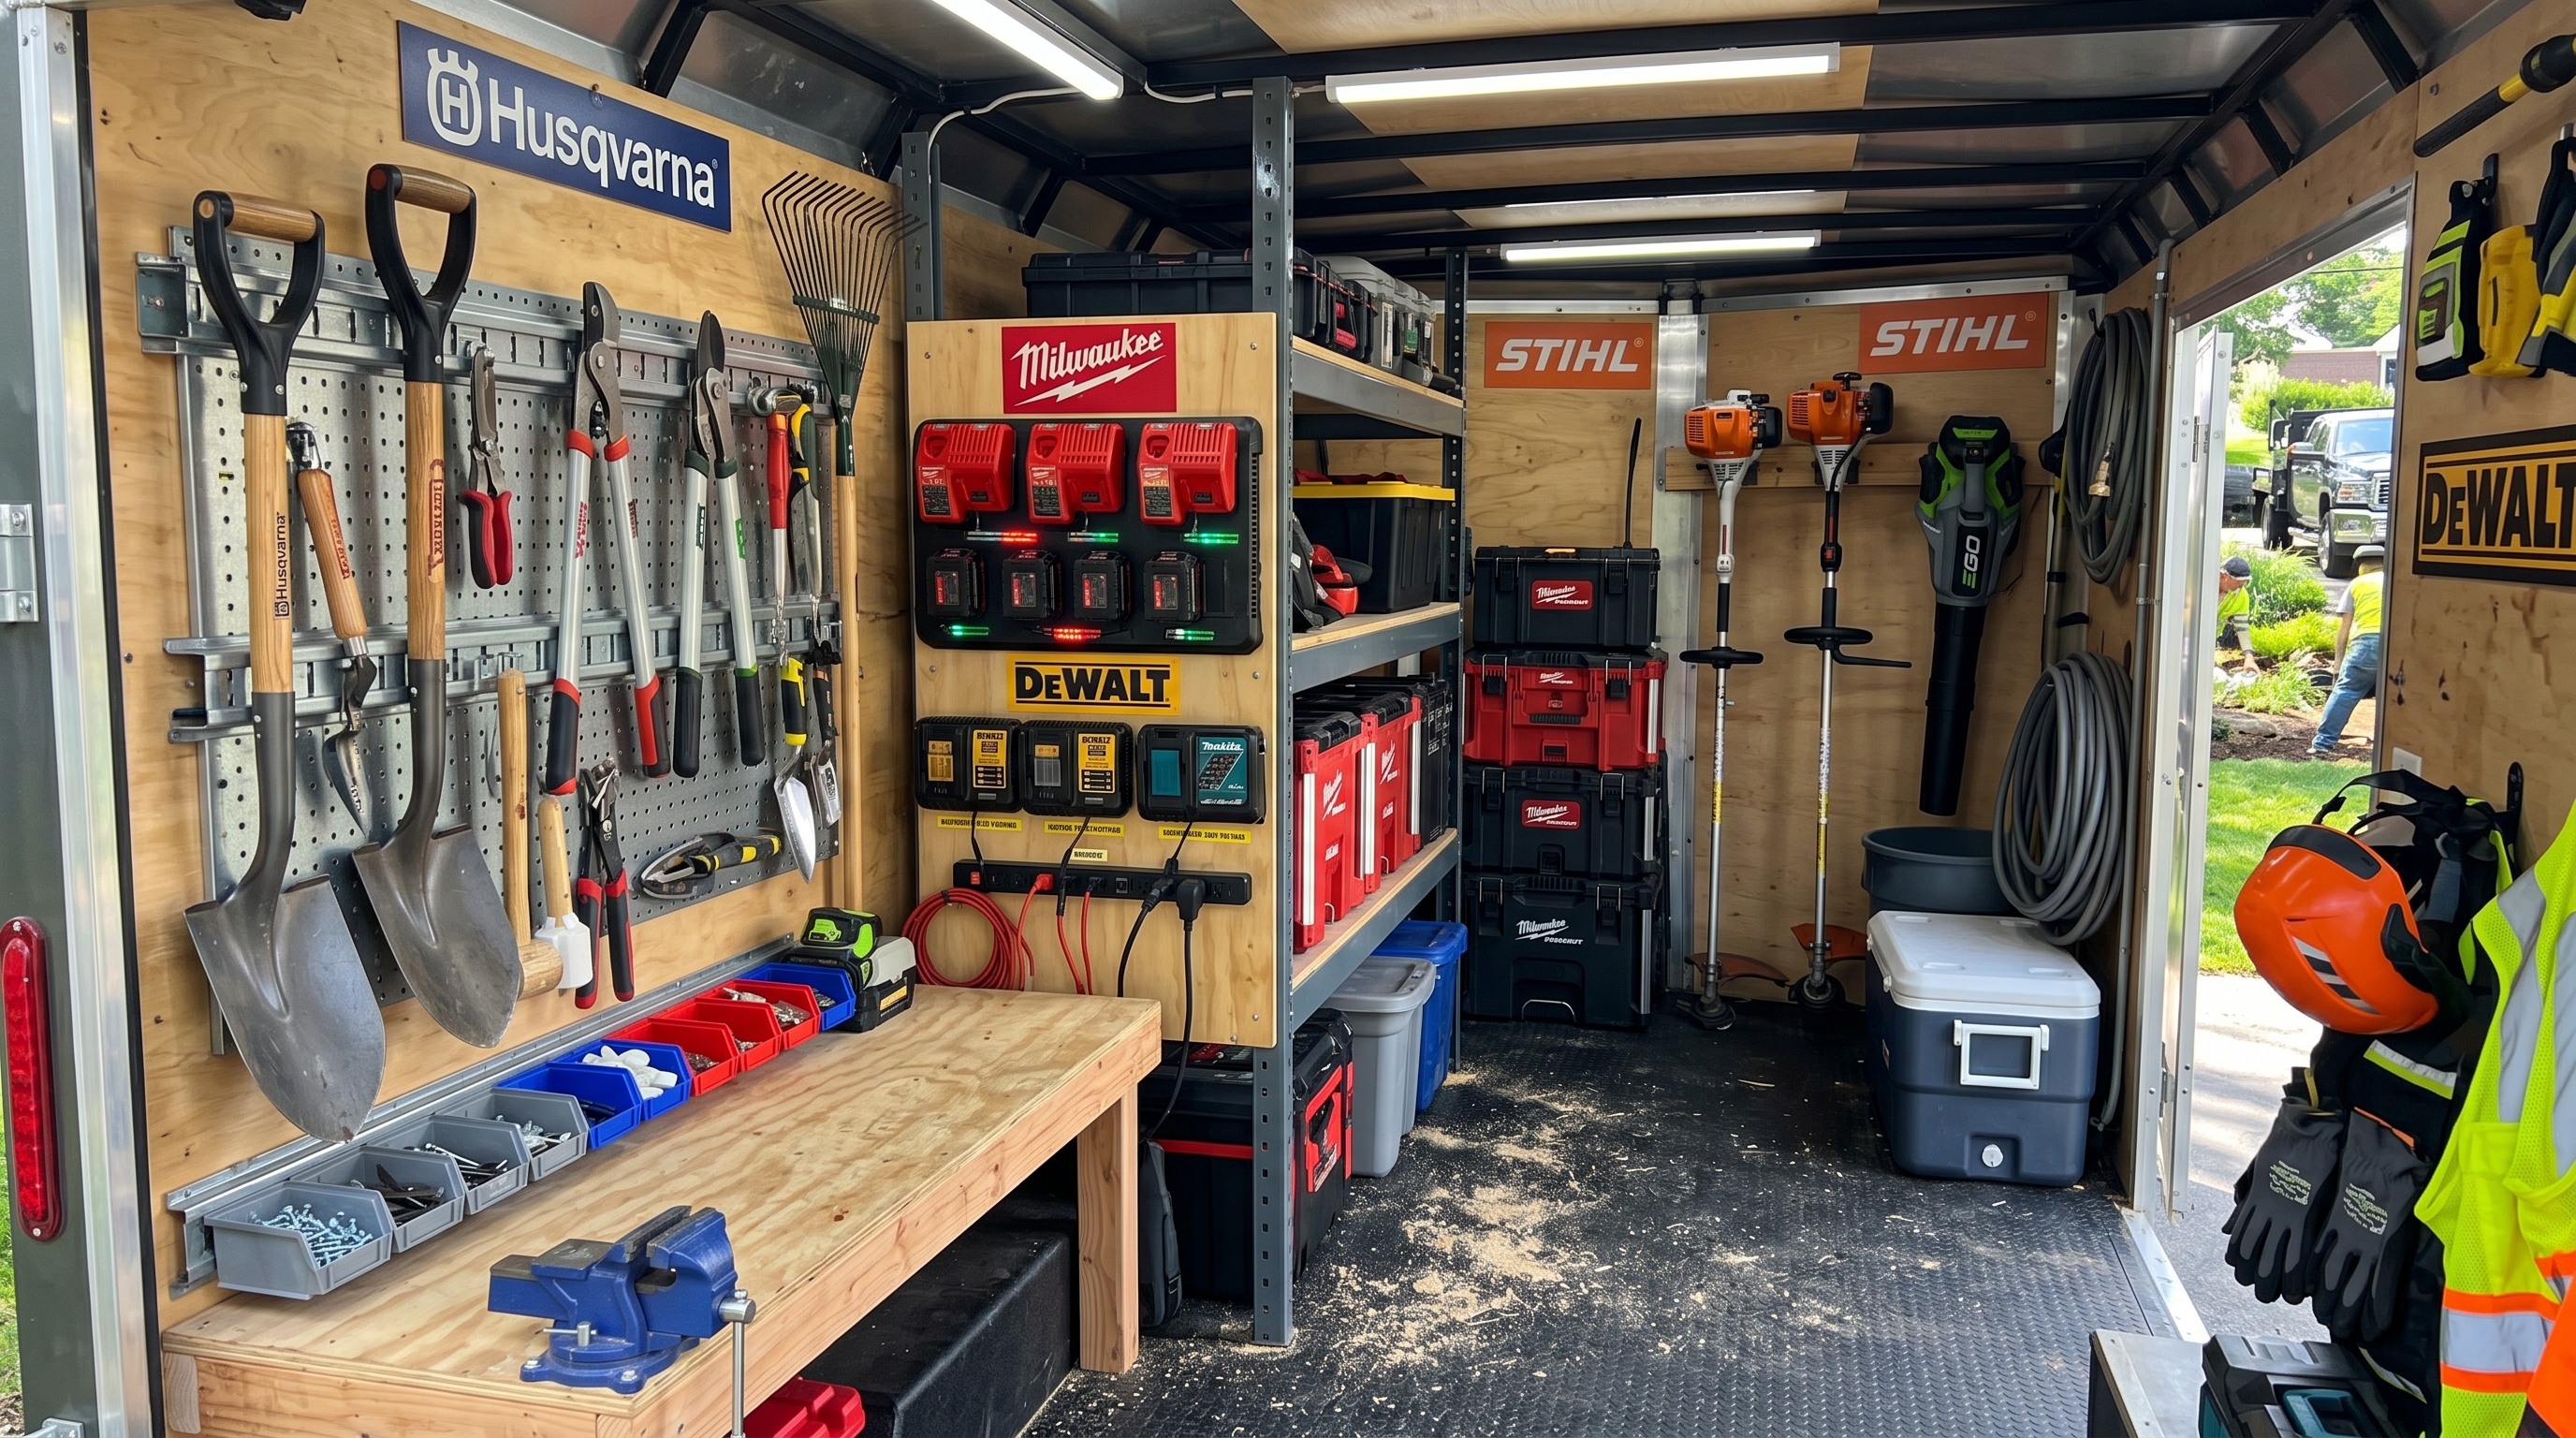
Layout for speed and flow
In a work trailer, layout is everything. The crew opens the back door or side door, grabs what they need, and goes. Every second of searching is wasted time. Design the layout around the job sequence:
- Near the door — Tools used at every stop: string trimmers, blowers, edgers. These should be the first things accessible when the door opens.
- Mid-trailer — Batteries and chargers. A central battery station lets crew members swap packs without blocking the door or reaching past heavy equipment.
- Far wall — Less frequently used items: hedge trimmers, chainsaws, specialty attachments, bulk supplies.
If the trailer has power (generator, inverter, or shore power hookup), mount chargers in the mid-section near the battery racks. This allows batteries to charge during transit between jobs. A multi-bay rapid charger saves space compared to individual chargers for each platform.
Charging on the move
For crews running full days, battery runtime is a constant concern. Charging between jobs requires power in the trailer. Options include:
- Inverter connected to the truck battery — Works for one or two chargers but can strain the vehicle electrical system on long days
- Portable generator — Reliable but loud and adds fuel cost
- Dedicated trailer power with a deep-cycle battery and inverter — Charges silently while driving, recharges from shore power overnight
Whichever system you use, mount the charger securely to the trailer wall. A charger bouncing around on the floor of a moving trailer is a fire and damage risk. Secure the power cords with clips or cable ties to prevent tripping hazards.
Maintenance and restocking
A trailer-based system needs more frequent inspection than a garage setup because of the constant vibration and use. Build a weekly checklist:
- Tighten all mount fasteners
- Check battery holders for cracking or deformation
- Inspect charger cords and outlets
- Clean battery terminals
- Restock consumables (trimmer spools, line, spool caps, fasteners)
- Remove debris, grass clippings, and dirt from the trailer floor and wall mounts
A clean, well-maintained trailer setup pays for itself in faster job turnaround, fewer damaged batteries, and less crew frustration. It also makes a professional impression on customers, which matters more than most operators realize.
Start with the mounts that matter most
If budget or time forces you to prioritize, start with battery storage and the mounts for your two most-used tools. For most landscaping crews, that is the string trimmer and the blower. Get those organized and secured first. Add mounts for secondary tools, charger stations, and consumable storage as time and budget allow. A half-organized trailer is still vastly better than a pile of loose tools on the floor.

Find the right part on Amazon
Check price, stock and fitment — ships direct from Amazon.
§ Catalog
Shop the catalog


