§ Journal · Jun 2, 2026
How to Organize 20+ Cordless Tool Batteries Without Losing Your Mind
If you own tools from multiple brands, battery management becomes a real problem. Here are the best storage and organization strategies for 2026.
Published · Last updated:
How to Organize 20+ Cordless Tool Batteries Without Losing Your Mind
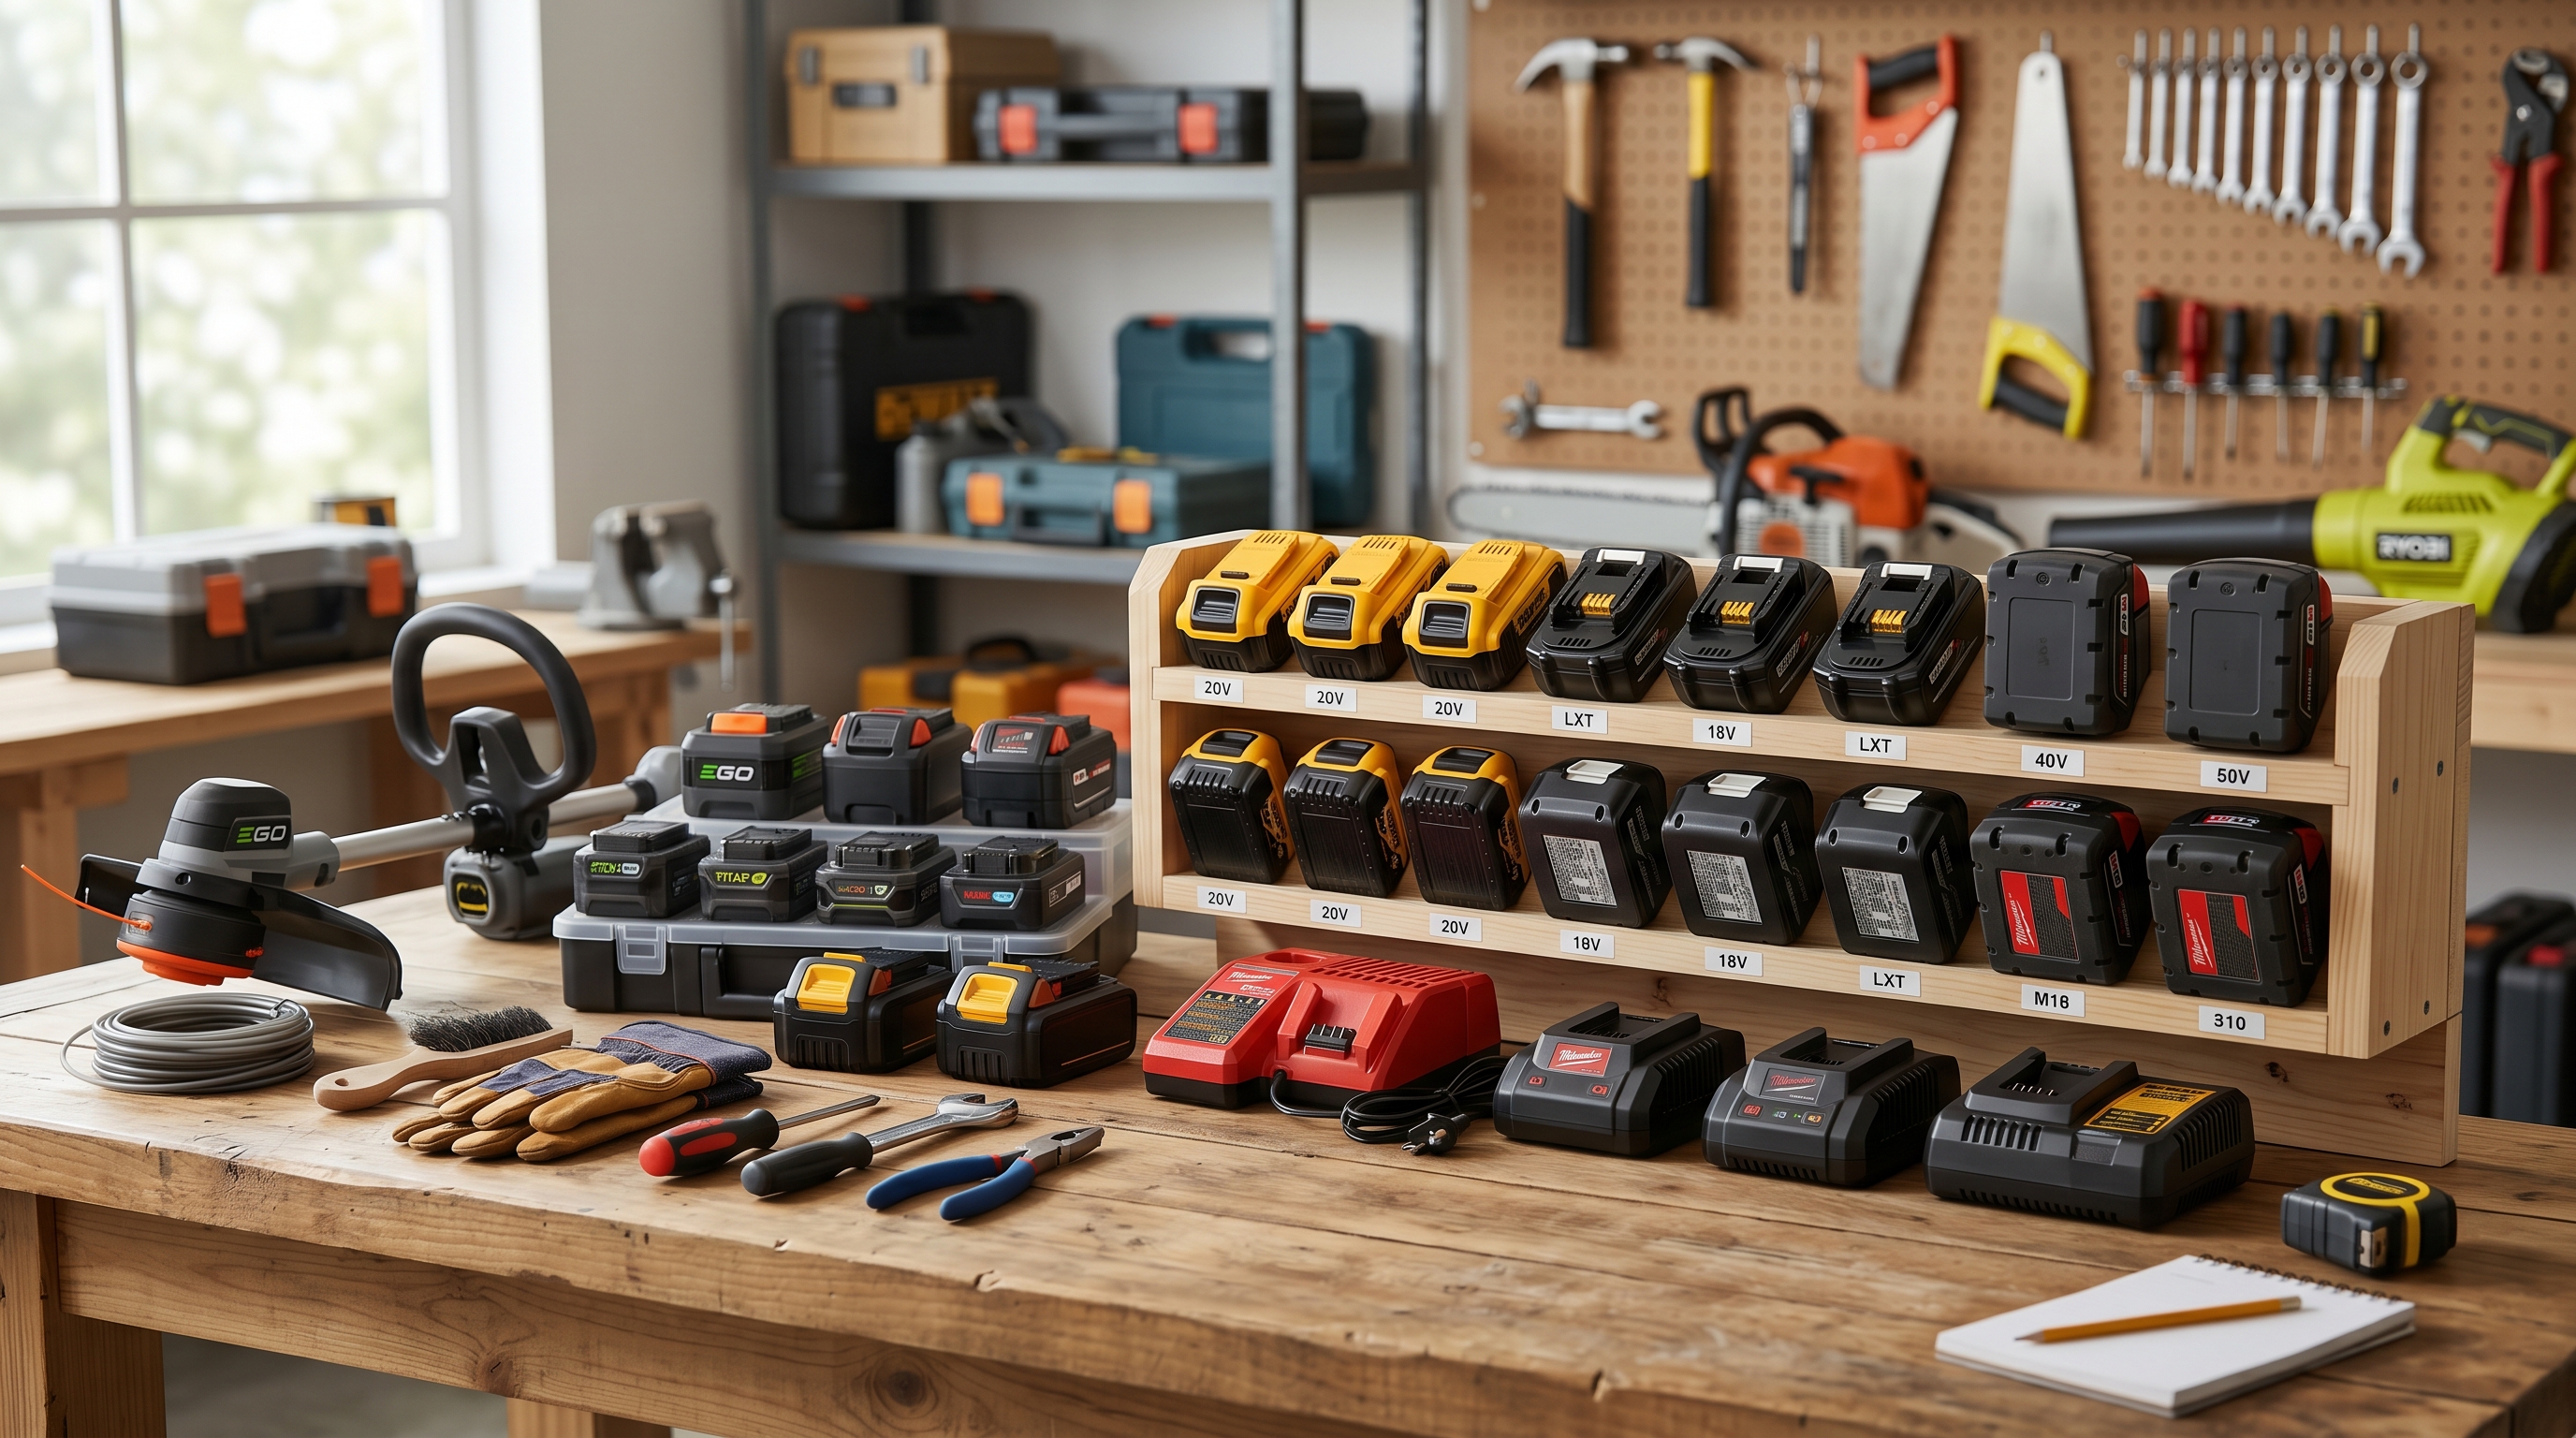
If you’ve been building your tool collection for a few years, there’s a good chance your cordless battery situation has quietly gotten out of control. What starts with one drill, two batteries, and a charger somehow turns into a crowded shelf full of DeWalt 20V packs, a few Milwaukee M18 batteries, maybe some Ryobi ONE+ units, and a random charger pile that seems to multiply overnight.
This is the battery multiplication problem, and nearly every serious DIYer runs into it. Most people don’t stick with just one platform forever. You buy a combo kit on sale, inherit a tool from a family member, grab a specialty tool from another brand, and before long you’re managing 10, 20, or even 30 batteries with absolutely no system. Some are charged, some are dead, some are half-full, and at least one is always missing when you need it.
The good news is that organizing cordless tool batteries does not require a full workshop renovation. With a few smart storage upgrades and a simple workflow, you can turn battery chaos into a setup that’s clean, efficient, and easy to maintain.
Step 1: Audit Your Batteries
Before you buy mounts, install shelves, or reorganize your bench, start with a full battery audit.
Take every cordless battery you own and put them in one place. Then group them by platform: DeWalt 20V, Milwaukee M18, Ryobi ONE+, Makita 18V LXT, Bosch 18V, or whatever else is in your collection. Once they’re sorted, count how many batteries you have in each system and identify which chargers belong to which platform.
This step sounds basic, but it’s where the confusion starts to disappear. When batteries are mixed across drawers, cabinets, and work surfaces, it’s hard to know what you actually own. Grouping them by brand immediately shows you where the clutter is coming from and helps you design storage around real numbers instead of guessing.
It’s also a great time to pull out damaged, weak, or questionable batteries. If one no longer holds a charge or overheats during use, don’t put it back into rotation just because it still fits the tool.
Step 2: Build a Wall-Mounted Charging Station
Once you know what you have, the next move is to get chargers off the bench and onto the wall.
Wall-mount charging stations are one of the easiest upgrades for a busy workshop. Mounting chargers on plywood, pegboard, or directly to a wall keeps them visible, accessible, and out of the way. Instead of stacking chargers in a corner or draping cords across your workspace, you create a dedicated charging zone that stays organized.
The biggest advantage is visibility. When chargers are mounted at eye level, you can instantly see what’s charging, what’s finished, and which platforms are currently in use. That cuts down on the constant battery shuffle and makes it much easier to maintain a working routine.
If you use multiple brands, give each charger its own clearly defined spot. A neat charging wall also makes cable management far easier, especially when paired with clips, cord wraps, or power strip mounting solutions.
Step 3: Create a Ready-to-Go Battery Rack
Charging and storage should not be the same thing.
One of the best ways to organize large battery collections is to create a separate ready-to-go battery rack for fully charged batteries. This becomes your grab-and-go zone: the place where charged batteries live until they’re needed.
Battery mounts make this easy. Instead of piling batteries on a shelf where they tip over, slide around, or get buried, you can store them in a clean, dedicated rack that keeps every pack secure and visible. Whether mounted vertically or horizontally, a proper battery rack turns a cluttered collection into an orderly lineup.
This setup saves time every single time you start a project. You don’t have to wonder which battery is ready or pull half-charged packs off chargers just to get going. You know exactly where the charged batteries are, and you can grab one in seconds.
Step 4: Separate Storage From Charging
This might be the most important habit change in the whole system: do not leave batteries on chargers permanently.
A lot of DIYers treat the charger like long-term storage, but that’s not ideal for battery lifespan. Once a battery is fully charged, it should come off the charger and move to your storage rack. Keeping batteries plugged in all the time can contribute to unnecessary wear, especially over the long term.
Think of your charging station as a temporary stop, not a parking lot. Use it to top batteries up, then move them to your ready-to-go storage area. Dead or partially used batteries can go into a separate “needs charging” section so they don’t get mixed in with your fully charged supply.
This simple separation creates a much cleaner system: chargers for charging, racks for storage, and no more guessing.
Step 5: Design a Multi-Platform Wall Layout
If you own more than one battery platform, your wall layout matters.
The best approach is to dedicate sections of your wall to each brand. Put DeWalt with DeWalt, Milwaukee with Milwaukee, Ryobi with Ryobi. Chargers, battery mounts, and even tool holders should stay grouped together whenever possible. That way, when you reach for a battery, tool, or charger, everything related to that platform is in the same zone.
Color-coded mounts or labels can make this even easier. Yellow for DeWalt, red for Milwaukee, green for Ryobi—simple visual cues help you avoid mistakes and speed up your workflow, especially in larger shops where several systems are in constant rotation.
A multi-platform wall layout is especially useful for people who have grown their collection over time and now need their storage to reflect reality rather than wishful minimalism.
Temperature Matters More Than You Think
Cordless batteries do not love extreme temperatures. If your batteries live in an uninsulated garage, shed, or workshop, summer heat and winter cold can shorten their lifespan and affect performance.
Try to store batteries in a space that stays reasonably stable year-round. If your workshop gets brutally hot or freezing cold, consider basic insulation upgrades, weatherstripping, or moving battery storage to a more climate-controlled part of the house or garage. Even a simple insulated cabinet area can be better than an exposed shelf near a drafty door or metal wall.
A well-organized battery station works best when it also protects your investment.
Use the “One In, One Out” Rule
Large collections tend to grow faster than they shrink, which is how dead batteries and outdated packs pile up.
A helpful rule is “one in, one out.” When a battery becomes unreliable, weak, or damaged, remove it from your system instead of letting it linger in a drawer. If you buy new batteries regularly, this habit prevents your storage area from filling up with questionable extras you never trust enough to use.
And don’t throw lithium-ion batteries in the trash. Recycle them properly through retailer programs at places like Home Depot or Lowe’s, where battery drop-off bins are often available.
Quick Wins That Make a Big Difference
A few small upgrades can make your battery station even better. A label maker is worth its weight in gold for marking charging zones, brand sections, and “charged” versus “needs charging” areas. Pegboard adds flexibility if your storage needs change over time. Magnetic strips are perfect for holding small accessories like drill bits, driver extensions, and charger keys nearby.
When your tool collection grows, your storage system has to grow with it. The key is not owning fewer batteries—it’s giving every battery a clear home. With wall-mounted chargers, dedicated battery racks, brand-specific zones, and a few smart accessories, you can stop losing time to clutter and start enjoying a workshop that actually works.

Find the right part on Amazon
Check price, stock and fitment — ships direct from Amazon.
§ Catalog
Shop the catalog


