§ Journal · Jun 3, 2026
Battery Wall Mount Setups That Reddit Actually Uses — Milwaukee, DeWalt, Ryobi Compared
We read every "show me your battery setup" thread on r/MilwaukeeTool, r/Dewalt, and r/Tools. Here are the wall mount solutions real users recommend, with specific products and prices.
Published · Last updated:
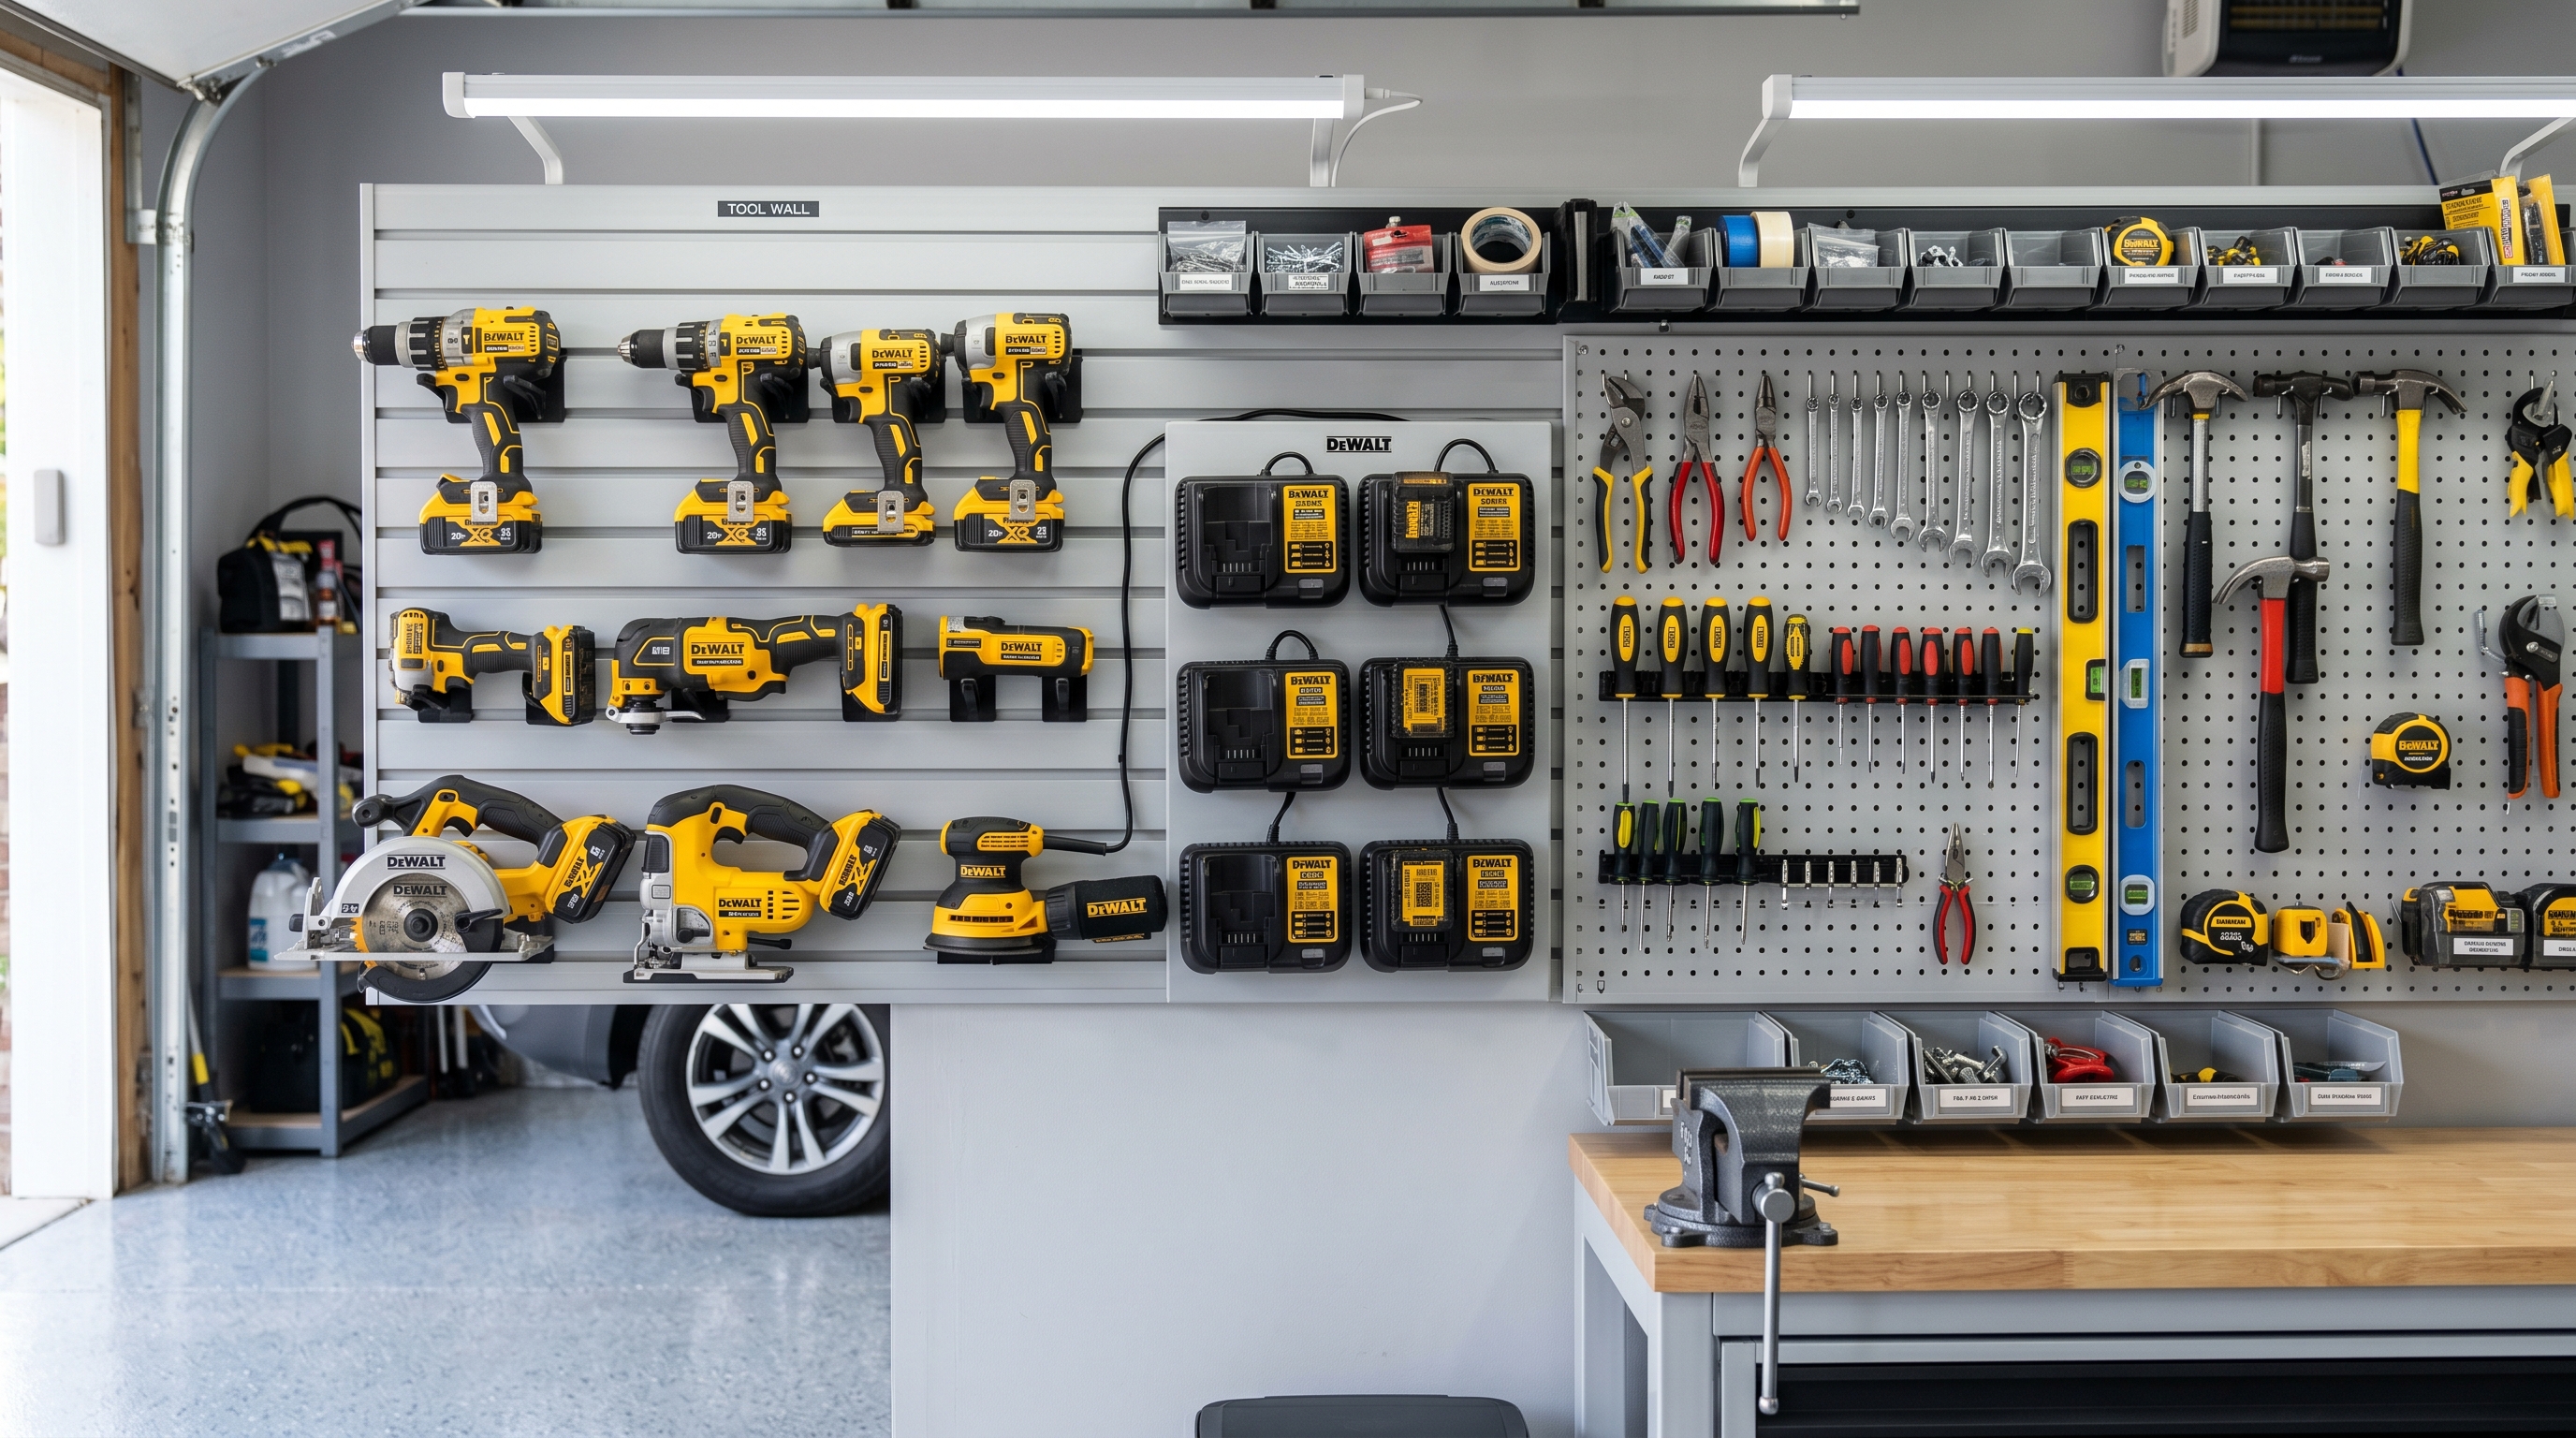
Every few weeks, someone posts “Show me your wall battery/charger storage” on r/MilwaukeeTool or r/Dewalt, and the responses pour in — photos of garage walls lined with red and yellow battery holders, charging stations built into pegboard, and trailer setups that survive daily bouncing over job sites.
We dug through these threads to find the setups that get the most upvotes and the products that keep getting recommended. Here is what real users actually buy and build.
The three approaches
Battery wall storage falls into three categories, each with different trade-offs:
1. Dedicated battery holders (most popular)
These are small plastic or metal mounts that hold one battery each, screwed directly into drywall, plywood, or French cleats. They are the most recommended solution across all three brand subreddits.
Milwaukee M18:
- StealthMounts — the most-cited brand on r/MilwaukeeTool. Lock the battery in with a positive click. Users report they hold even Milwaukee’s heaviest 12.0Ah High Output batteries without sagging. ~$3-4 per mount.
- Generic Amazon 10-packs — multiple users recommend the $12-14 10-packs as “perfectly fine for M18 batteries.” The clip engagement is not as crisp as StealthMounts, but at $1.40 each, most users buy a 10-pack and do not look back.
DeWalt 20V MAX:
- StealthMounts for DeWalt — same quality as the Milwaukee version, same price. One user on r/Dewalt: “Finally organized my batteries with battery holders — should have done this years ago.”
- The 20V MAX foot design means most generic holders work well — the battery slides on and gravity holds it.
Ryobi ONE+ 18V:
- Ryobi’s battery foot is wider than Milwaukee or DeWalt, so Milwaukee-specific holders do not cross-fit (despite some Amazon listings claiming “universal”).
- Look for holders specifically designed for the ONE+ platform. Our Ryobi ONE+ wall mount guide covers the options.
2. Charging station wall mounts
Instead of separate holders, some users mount their chargers directly to the wall with batteries always connected and ready. This is the “grab and go” setup.
Pros: Batteries are always topped off. No separate step to charge then store. Cons: Constant trickle charging can shorten battery lifespan over years (though modern smart chargers mitigate this). Takes more wall space. Needs outlets nearby.
r/MilwaukeeTool users who run this setup typically mount a multi-port charger (M18 6-pack sequential charger) on a French cleat system so it can be removed for service.
3. DIY French cleat systems
The most upvoted setups on r/Tools almost always use French cleats — angled strips of plywood that let you hang and rearrange tool holders at will. Users build custom battery caddies from scrap plywood that sit on the cleat rail.
Advantages: Infinitely customizable, cheap to build, and you can rearrange your entire wall in minutes. Trade-off: Takes woodworking skills and time to build. Not as clean-looking as dedicated holders.
The real-world problems users report
Heat in uninsulated garages
Multiple users warn about storing batteries in unheated/uncooled garages: “My Milwaukee batteries show the temperature error and won’t charge until they cool down in summer.” Lithium batteries should not be stored above 105°F or below 20°F.
Solution: Mount batteries on an interior wall (shares house insulation) or at least on a wall that does not get direct sun. Some users bring batteries inside for winter and summer extremes. See our winter battery storage guide for temperature management.
Batteries falling off mounts
Cheap holders with weak retention clips drop batteries — especially in trailers or when someone bumps the wall. One user: “The $8 Amazon pack mounts dropped two batteries in the first week. Switched to StealthMounts and never looked back.”
Solution: For garage walls, any holder with positive engagement works. For trailers and work trucks, use holders with a locking tab or secondary retention mechanism. See our mobile trailer setup guide for vibration-resistant options.
Multi-platform chaos
Many homeowners run 2-3 battery platforms (Milwaukee for power tools, Ryobi for outdoor, DeWalt for jobsite). Mixing holder types on one wall looks messy and causes confusion.
Solution: Zone your wall by platform with clear labels. Mount each platform’s charger in its zone. Color-code with tape if needed. Our tool wall organization guide covers the layout strategy.
Cost comparison
| Solution | Cost for 10 batteries | Durability | Best for |
|---|---|---|---|
| StealthMounts | $35-40 | High (metal + polymer) | Serious users, trailers |
| Generic 10-pack | $12-14 | Medium (ABS plastic) | Budget garage walls |
| French cleat DIY | $10-15 (wood) | High (plywood) | Woodworkers, custom layouts |
| Charger wall mount | $0 (just mount the charger) | N/A | ”Always charged” priority |
The setup most users land on
Based on vote patterns and follow-up comments, the most common successful setup is:
- 10-pack generic holders for daily-use batteries ($14)
- One multi-port charger wall-mounted in the center ($40-80 depending on brand)
- Labels or color tape separating battery platforms
- Total cost: under $60 for a 10-battery wall that stores and charges
It is not glamorous, but it works. The users who post the most elaborate setups (custom woodwork, LED lighting, laser-engraved labels) are a vocal minority — most people want their batteries off the floor and organized for under $50.
Browse our battery wall mount holders to find the right fit for your platform.

Find the right part on Amazon
Check price, stock and fitment — ships direct from Amazon.
§ Catalog
Shop the catalog


